
Table of Contents
Mastering S-Log3 on the Sony A7C II: The Ultimate Technical Guide
Mastering S-Log3 on the Sony A7C II: For professional travel filmmakers, the Sony A7C II is a revolutionary tool, but its true power is often locked behind a steep learning curve: S-Log3. If you have ever seen “milky” shadows, weird skin tones, or digital noise in your graded footage, it is likely due to improper exposure or a misunderstanding of how logarithmic gamma curves work.
At Pankaj Sharma Films, I rely on S-Log3 for 100% of my cinematic work. It is the only way to squeeze the full 15 stops of dynamic range out of the A7C II sensor. Here is everything you need to know to master S-Log3, from sensor science to field-proven metering techniques.
What is S-Log3?
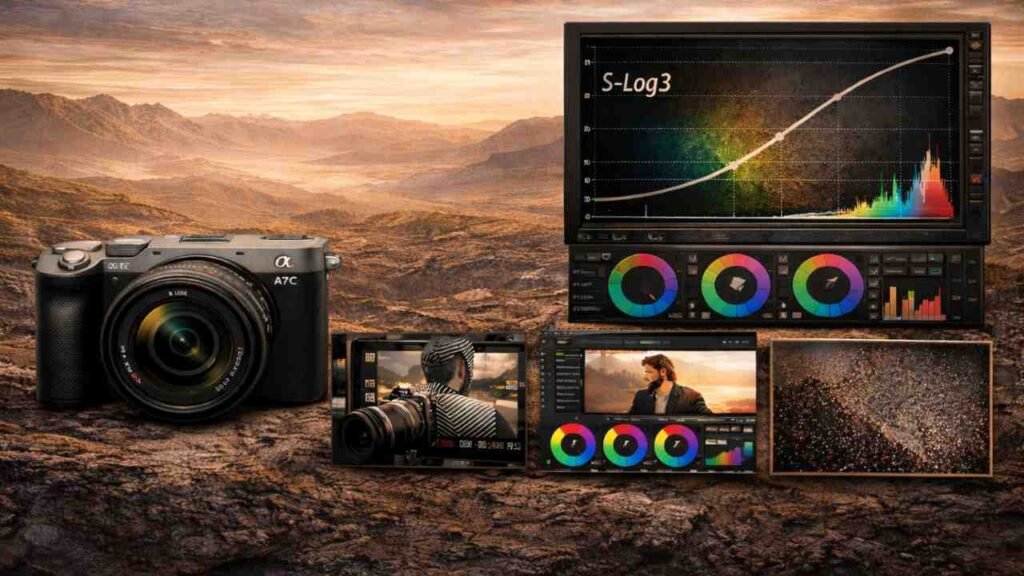
S-Log3 is a logarithmic gamma curve designed by Sony to mimic the way a film negative captures light.
Unlike standard “Rec. 709” profiles (like SCinetone or Creative Looks), which bake in contrast and saturation to make the image look “ready” out of the camera, S-Log3 captures a flat, desaturated image. Its primary goal is to preserve the maximum amount of detail in both the deepest shadows and the brightest highlights, giving you the most “latitude” in post-production.
Why S-Log3 is the Best Choice (And the 10-bit Rule)
There is a common debate: S-Log2 vs. S-Log3. On older 8-bit cameras (like the original A7C), S-Log3 was often a mistake because the 8-bit files didn’t have enough data to support the heavy grading required.
The Sony A7C II is different: Because it records in 10-bit 4:2:2, it provides 1,024 levels of color per channel (compared to just 256 in 8-bit).
Shadow Detail: S-Log3 is designed to prioritize shadow detail even more than S-Log2.
Color Accuracy: Paired with S-Gamut3.Cine, it allows you to hit professional cinema color spaces that match high-end Venice or FX6 cameras.
Banding Prevention: 10-bit depth ensures that sky gradients (like those in a Rajasthani sunset) don’t “break” into ugly digital bands when you add contrast.
Understanding Base ISO
The Sony A7C II has a “Dual Base” sensor (technically “Dual Base-like” architecture). In S-Log3, the camera is cleanest at two specific ISO levels:
Low Base ISO: 800. This is your standard for daylight and well-lit scenes.
High Base ISO: 3200. This is your “Low Light” beast.
The Rule: Never shoot at ISO 2000 or 2500 if you can avoid it. Jumping from ISO 2500 to 3200 will actually result in a cleaner image with less noise because you are hitting the second gain circuit of the sensor.
How to Expose S-Log3 Properly: The “+2.0 Rule”
The most critical mistake beginners make is exposing S-Log3 as they would a normal image. Log footage wants more light. This technique is called ETTR (Expose to the Right).
For the Sony A7C II, the “Sweet Spot” for S-Log3 is to overexpose your image by +1.7 to +2.0 stops.
Why overexpose?
When you overexpose, you push the shadow details away from the “noise floor” of the sensor. In post-production, you “pull” the exposure back down. This results in incredibly clean, noise-free shadows that look like they were shot on a much more expensive cinema camera.
Metering Techniques in the Field
A. The MM (Multi Metering) Method
Look at the Exposure Compensation scale at the bottom of your screen. Adjust your Aperture, Shutter Speed, or ND filter until the meter reads +2.0. This is the fastest way to ensure safety.
B. Using Zebras (The Professional Way)
Set your Zebras to “Custom” with the following settings:
Zebras for Whites (94%): Set your Zebras to 94%. If you see Zebras appearing on a white wall or a cloud, you are about to “clip” (lose detail) in the highlights. Back off slightly until the Zebras just disappear.
Zebras for Skin Tones (41-52%): Unconverted S-Log3 skin tones should sit around 45-52%. If you use a monitoring LUT, set your Zebras to 70% for skin.
C. Gamma Display Assist
On the A7C II, turn on Gamma Display Assist (s709). This allows you to see a “corrected” image on your LCD while the camera still records the flat Log file. It helps you judge if your colors and lighting are correct without having to guess through the “grey” image.
Color Space: S-Gamut3.Cine
Always pair S-Log3 with the S-Gamut3.Cine color mode.
Why? Standard S-Gamut3 is too wide and can be difficult to grade. S-Gamut3.Cine is designed to be easily “mapped” to Rec. 709, making your color grading workflow in DaVinci Resolve or Premiere Pro much faster and more predictable.
Final Technical Thought
Mastering S-Log3 on the Sony A7C II or on any Sony camera isn’t just about the camera settings; it’s about consistency. Once you commit to the +2.0 exposure rule and stick to the Base ISOs (800/3200), your footage will look professional before you even start the color grade.
YouTube: Watch more on my YouTube channel, Pankaj Sharma Films
Instagram: Follow Pankaj Sharma Films
Gear: Check out my Minimalist Camera Packing List to see how I’m adapting my kit for a more mobile, compliant workflow.
If you have some interesting information to share, then comment below!